RECIPE | Homemade Refried Beans... in the Instant Pot

A couple weeks ago I shared in this post and on episode 25 of our podcast, that I was testing out batch of homemade refried beans (vegan & gluten free) in our new favorite kitchen addition, the Instant Pot. I was *almost* successful that night, but wanted another run through before sharing with you. 

The first time around, they tasted great, they were a bit dense because I underestimated how much they would thicken up. The second run though was much better and I'm happy to report that we have a nice stash of these delicious homemade refried beans in our freezer. The recipe is for the Instant Pot (an electric pressure cooker), but you could adjust for the stove top or slow cooker - the great thing with the Instant Pot is cooking time is dramatically reduced and in an hour, we went from dried to delicious refried beans. 


RAPID REFRIES IN THE iNSTANT POT


INGREDIENTS

  • 2 pounds dried pinto beans - sorted and rinsed
  • 3 tablespoons + 1/4 cup coconut oil
  • 1 large onion - chopped
  • 6-8 cloves garlic (more or less to taste)
  • 1 jalapeno - seeded and diced
  • 1 bunch cilantro - stems and leaves
  • 1/2 teaspoon cayenne (more or less to taste)
  • 2 tablespoons chili powder
  • 2 tablespoons cumin
  • 9 cups of water
  • juice of 1 lime
  • salt to taste


INSTRUCTIONS

  1. Rinse and sort beans and set aside. 
  2. Set Instant Pot on the saute setting. When hot, add 3 tablespoons of coconut oil, add onions and sautee for 5-10 minutes until softened.
  3. Add garlic, jalapeno and roughly chopped cilantro stems. Saute another 3-5 minutes until aromatic. Mix in cayenne, chili powder, cumin, beans and water. 
  4. Cover and set Instant Pot on Bean/Chili Setting for 35 minutes - unplug when time is up. After 10 minutes, release remaining pressure. Check beans to make sure they're tender at this point - if they're not, close it back up and set for another 5-10 minutes. 
  5. Heat a large pan over medium/high heat and add remaining 1/4 cup coconut oil. 
  6. Strain beans (reserving liquid - you'll need this later), add to hot pan with oil and cook for 5 minutes, stirring as needed to keep from sticking to the pan. 
  7. Begin alternating adding liquid (more to begin with) and mashing beans (I use an immersion blender, but a potato masher will work, too) until you reach the desired consistency - we like ours to have just a bit of texture, so we don't blend completely smooth. 
  8. Add salt to taste and mix in lime juice (you can microwave a the lime for 30 seconds and get a lot more juice with little effort). 

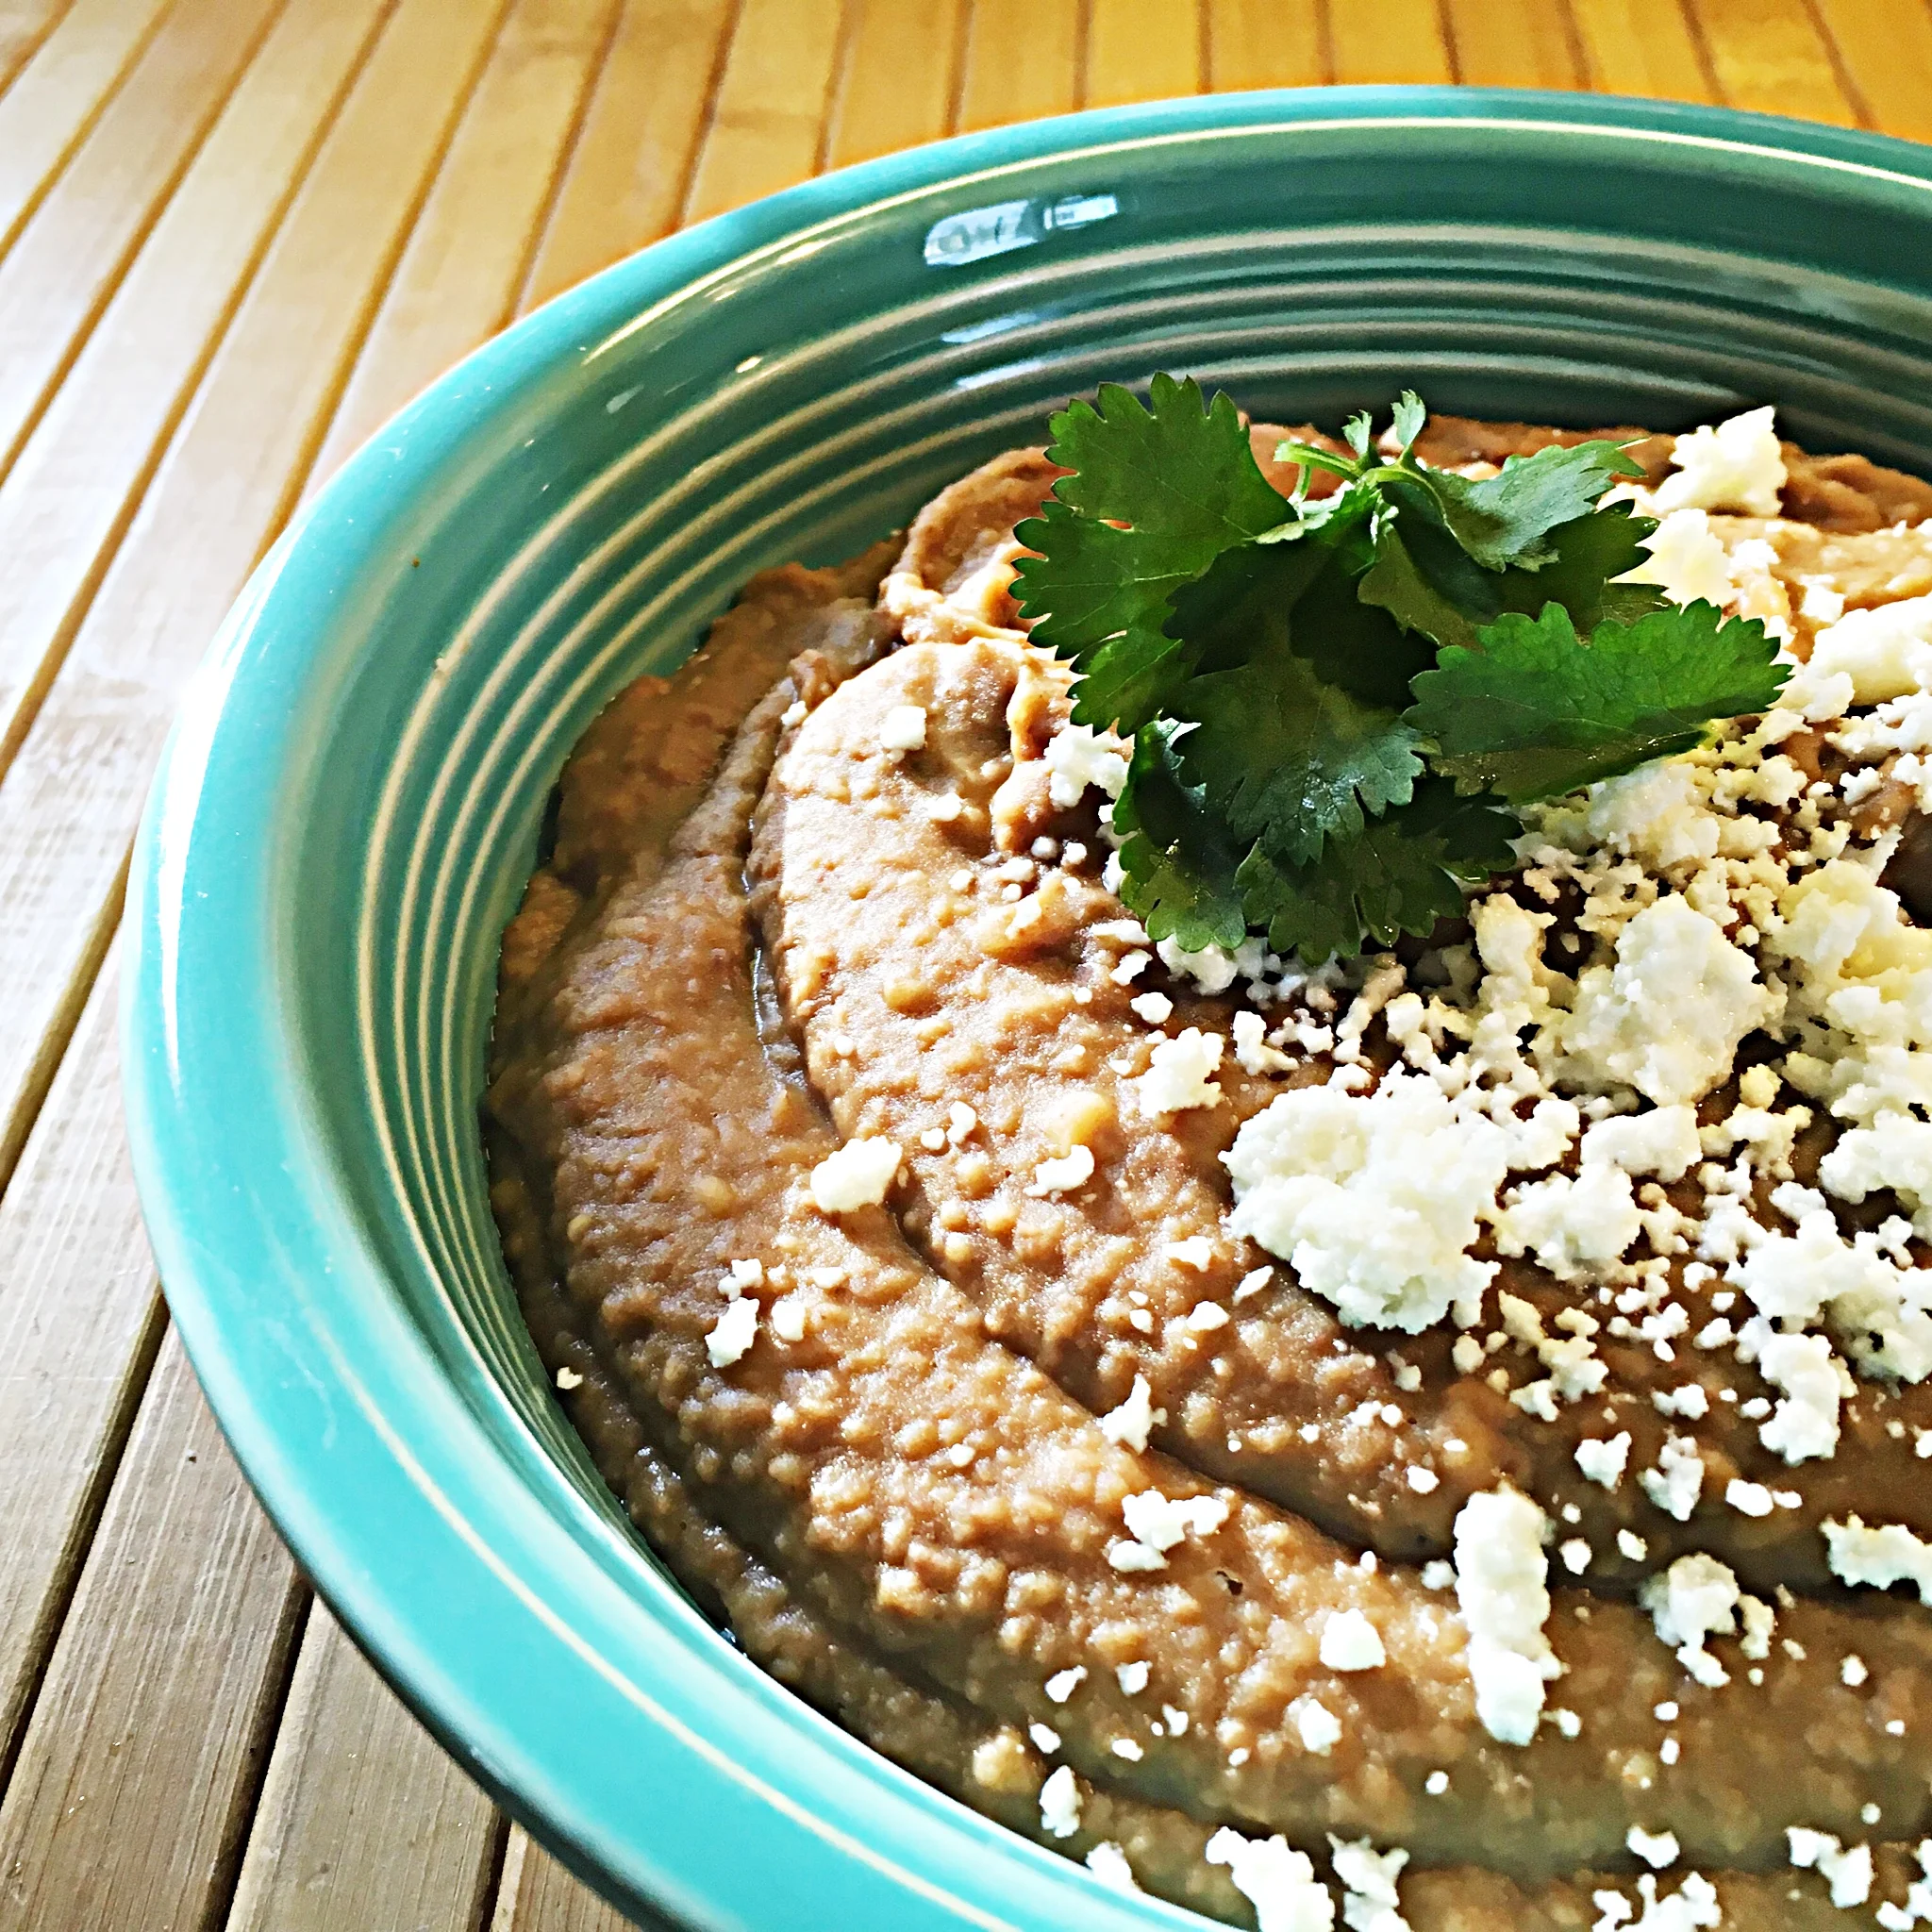
Garnish as you like (queso fresco and cilantro is a favorite at our house) and enjoy! 

Cheers!

This post contains affiliate links which means that if you click on a link and purchase an item through that website, I may make a small commission - this is at no extra charge to you. Thank you for helping support Alisa the Yarnista!

In the Kitchen | Pho and Eggs

It's been refreshing to think ahead to spring and warmer weather as I'm finalizing the details for the upcoming classes at the shop. I tend to go into hiding right before posting a new round of classes as all the loose ends get tied up, but I've been trying to find some balance by spending a little time in the kitchen. A couple weeks back, I decided to make Vietnamese Pho - a soup with a spiced broth, rice noodles, herbs and we enjoyed ours with beef. I've never made Pho before and decided to take the completely from scratch route, including making broth with beef bones. Granted, this was a lot more work than just using beef stock - it had to simmer for hours for the flavor to develop, then it had to be strained and cooled skim off the fat - but it was totally worth it!

When the broth was ready and the Pho was assembled, it was beautiful meal full of delicious light and fresh flavor.

IMG_20140204_222134I love fresh veggies and herbs on just about everything, and this soup had plenty with bean sprouts, red bell pepper, onion, jalapeno, cilantro, basil and a nice squeeze of fresh lime juice.

Pho Garnish

I used this wonderful recipe and video tutorial for the broth and I highly recommend it to anyone wanting to make Pho completely from scratch. Sure, it took more time and effort, but it yields a stockpot quantity of delicious broth and we have plenty frozen for future use now - I can't wait to enjoy it again this summer with fresh garden goodies!

On a less time consuming and complicated front... a friend of mine has chickens and she very generously shares her super-fresh eggs with me on a regular basis. I love hard-boiled eggs, but the eggs from my friend are SO fresh that half the white - along with half my patience - is lost when trying to remove the shell after boiling. So, I asked her for advice - I figured there has to be a better way, right? She suggested baking them in the oven. Well, I'm happy to report that it works and it really couldn't be easier!

IMG_20140223_111342Here's how you do it:

  • Place one dozen eggs in one muffin pan (a mini-muffin pan might work better so they can stand up, but this is what I have).
  • Bake in the oven at 325 for 30 minutes.
  • Using tongs (careful, the eggs are HOT), transfer the eggs in an ice bath until they're cool enough to handle.
  • Eat right away or store in the fridge. The end.

These eggs are perfectly cooked with a creamy texture that is so much better than traditional boiled eggs and they peel SO easily! Honestly, I don't know that I'll ever boil eggs again.

I guess I better get back to my class prep, shop knitting and the Journey-along, but maybe I'll sneak into the kitchen later to make some deviled eggs - I'm sure hubby would love that!

Cheers!


Treats and Driver's Seats

I found this "recipe" for crock pot dolche de leche shortly before the holidays and decided to give it a try. Simply pouring sweetened condensed milk in some jars and putting them in the crock pot for a few hours with water seemed way too easy. BUT... I figured it didn't require too much effort on my part, so it was worth a try. Good news! It wasn't too good to be true and it made great holiday gifts (2 batches worth) and I made another batch last week. This is what you do:

Dolche Recipe

Yup, simple. I used 3 cans of sweetened condensed milk for 4 half-pints and this leaves just a wee bit leftover (perfect for coffee or tea). After filling the jars, into the crock pot they go, cover them with water and set on low for 8-10 hours (adjust the time depending on how dark you like your dolche de leche). Tip: add a splash of vinegar to the water bath to avoid sediment adhering to the jars and crock pot. 

Dolce done

That's all there is to it and it's absolutely delicious! I've been enjoying in on apples and I can't wait to try it on some ice cream!

On a healthier front...

Carrot

I decided it was time to use up some of the last of our CSA carrots for this Carrot Butter recipe. I used cashews instead of macadamia nuts and, of course, I used some of our precious homemade maple syrup I blogged about back in April.

Carrot Butter

After trying to patiently wait for the carrot butter to cool, we finally enjoyed it with a baguette and a healthy handful of chopped parsley. We still have quite a bit left from our late season CSA deliveries and I'm already planning something with squash for this weekend - a soup, perhaps?

And... much to the pleasure of my feet during the Wisconsin winter, I finished these socks:

socks

They fit great and I love the longer cuff! I also made some progress on hubby's worsted weight socks that I mentioned last time. He tried on the cuff and it fits perfectly so I'm confident it will be a great fit for him (and a quick knit for me). Onto the heel!

I'll leave you with this, and hopefully my guy makes you smile:

driver

Logan is quite the car companion and he's recently discovered that he can manage to fit his 112 lbs into his new favorite place - the driver's seat. 

Cheers!